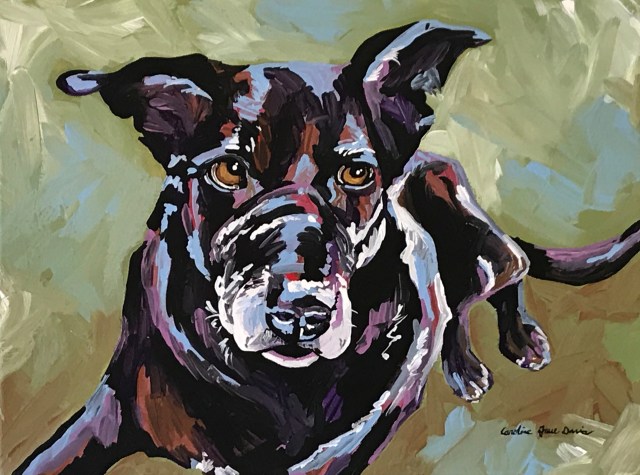
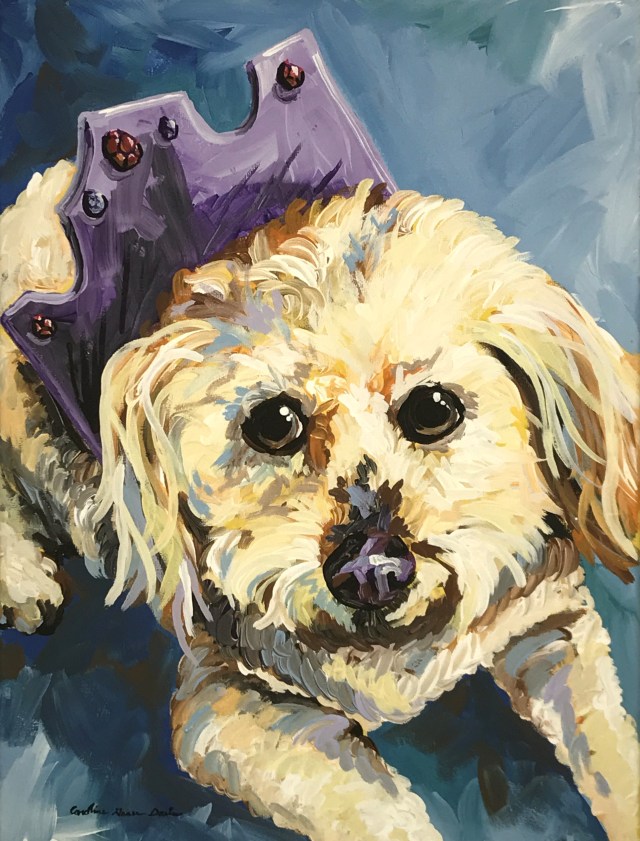
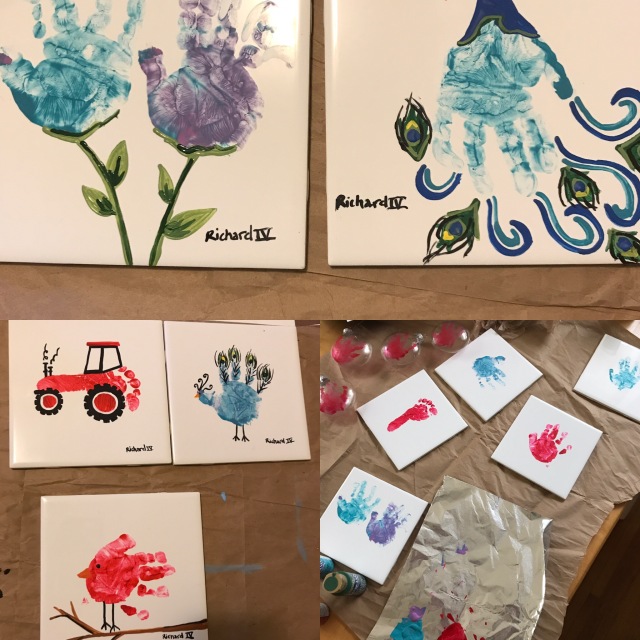
I’ve been absent forever. This is what having a toddler does!!!! But seriously, I have been crafting a bunch and painting…..kiddo is at daycare and I have some time to myself, so time to update!
I love red pandas (and how much they sleep, seriously my spirit animal), and decided to use scrap fabric and make my own red panda pillow since there’s nothing great on the market. I had a bunch of different colors and was inspired by some freehand stitching on pinterest.
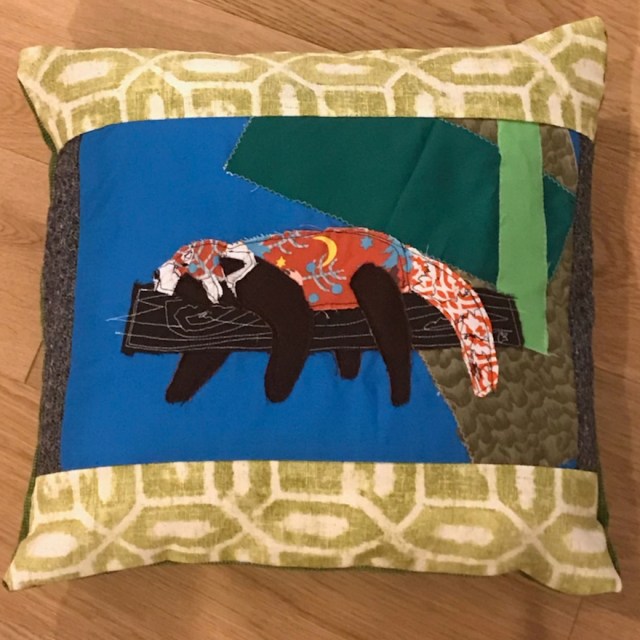
Here’s what I started with..I printed out the picture I wanted to go off of, then traced over a basic outline on a white piece of paper and cut out the individual pieces of fabric (using the paper as my template/stencil), pinned then how I wanted and sewed for the face. The freeform/freehand sewing was fun to do and adds so much….
 Then added fabric to finish the pillow off…my kiddo was helpful passing me the pins and helping with the measuring tape! He was proud of it that night and took it over to daddy to show him, ha!

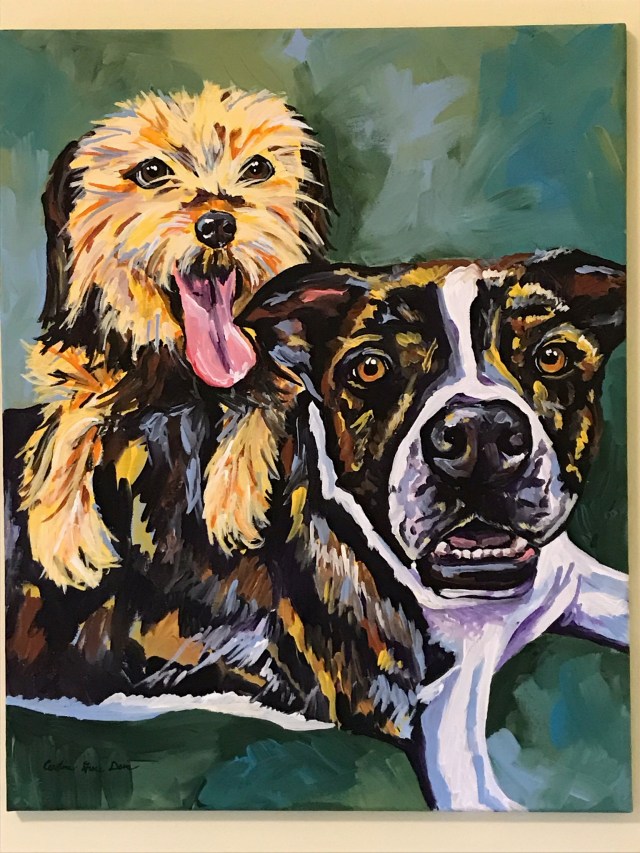
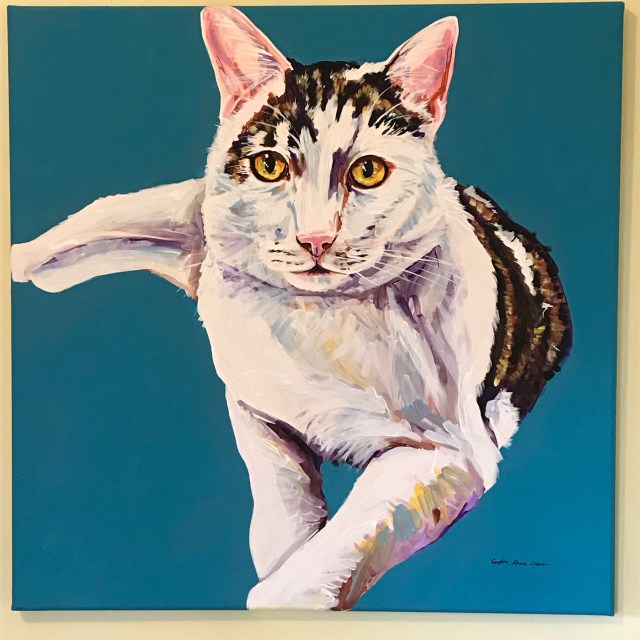
 Here are some of the layers over time (additionally client opted for more of a gray background vs green)


 So off to the fabric store….we already used a peel and stick wallpaper on the accent wall (which was amazing from RoomMates), so wanted a green/blue theme overall.
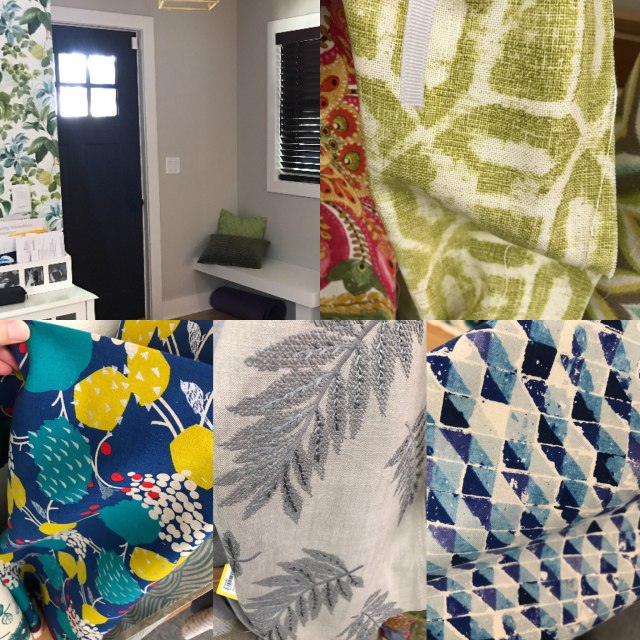 I thought the blue would be too much against the green leaves on the accent wall so went with the straight green/off white and the funky fabric for the back hall bench.
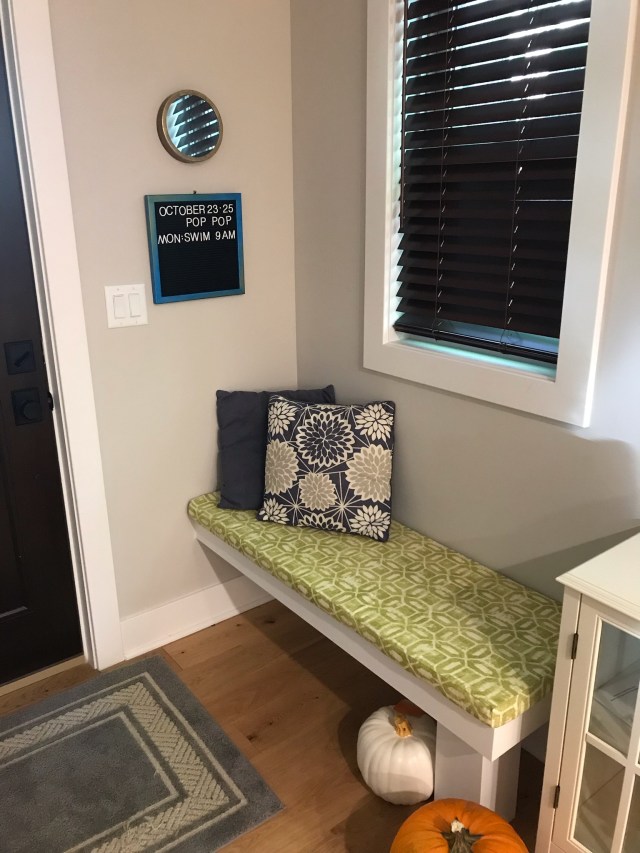 The blue board was ALSO a hobby lobby purchase that I painted the wood trim on!