One of my work colleagues just had a baby. Seems to be a trend lately with a bunch of my friends…and I’m not the type to want to go buy a generic baby gift in the store…so…on to quilting!

This quilt used some cotton fabrics left over from other projects (great use for extra fabric pieces!), but I did buy a little more to have some additional variety (yes, they had a girl). For the backing and edges I bought a flannel cotton fabric (super soft!). This is not full crib size- I actually took batting that was crib size and cut it in half. I’ve tended to make two at once then. Other friends that have received these quilts have used them more as a bit of a playmat. And this does not follow the traditional quilting route with the binding and finishing, so it you’re a bit newer to sewing this is likely an easier start for you. Just make the front, sew the edges, turn inside out and sew the open seam! Fantastic, unique gift!
Some step by step:
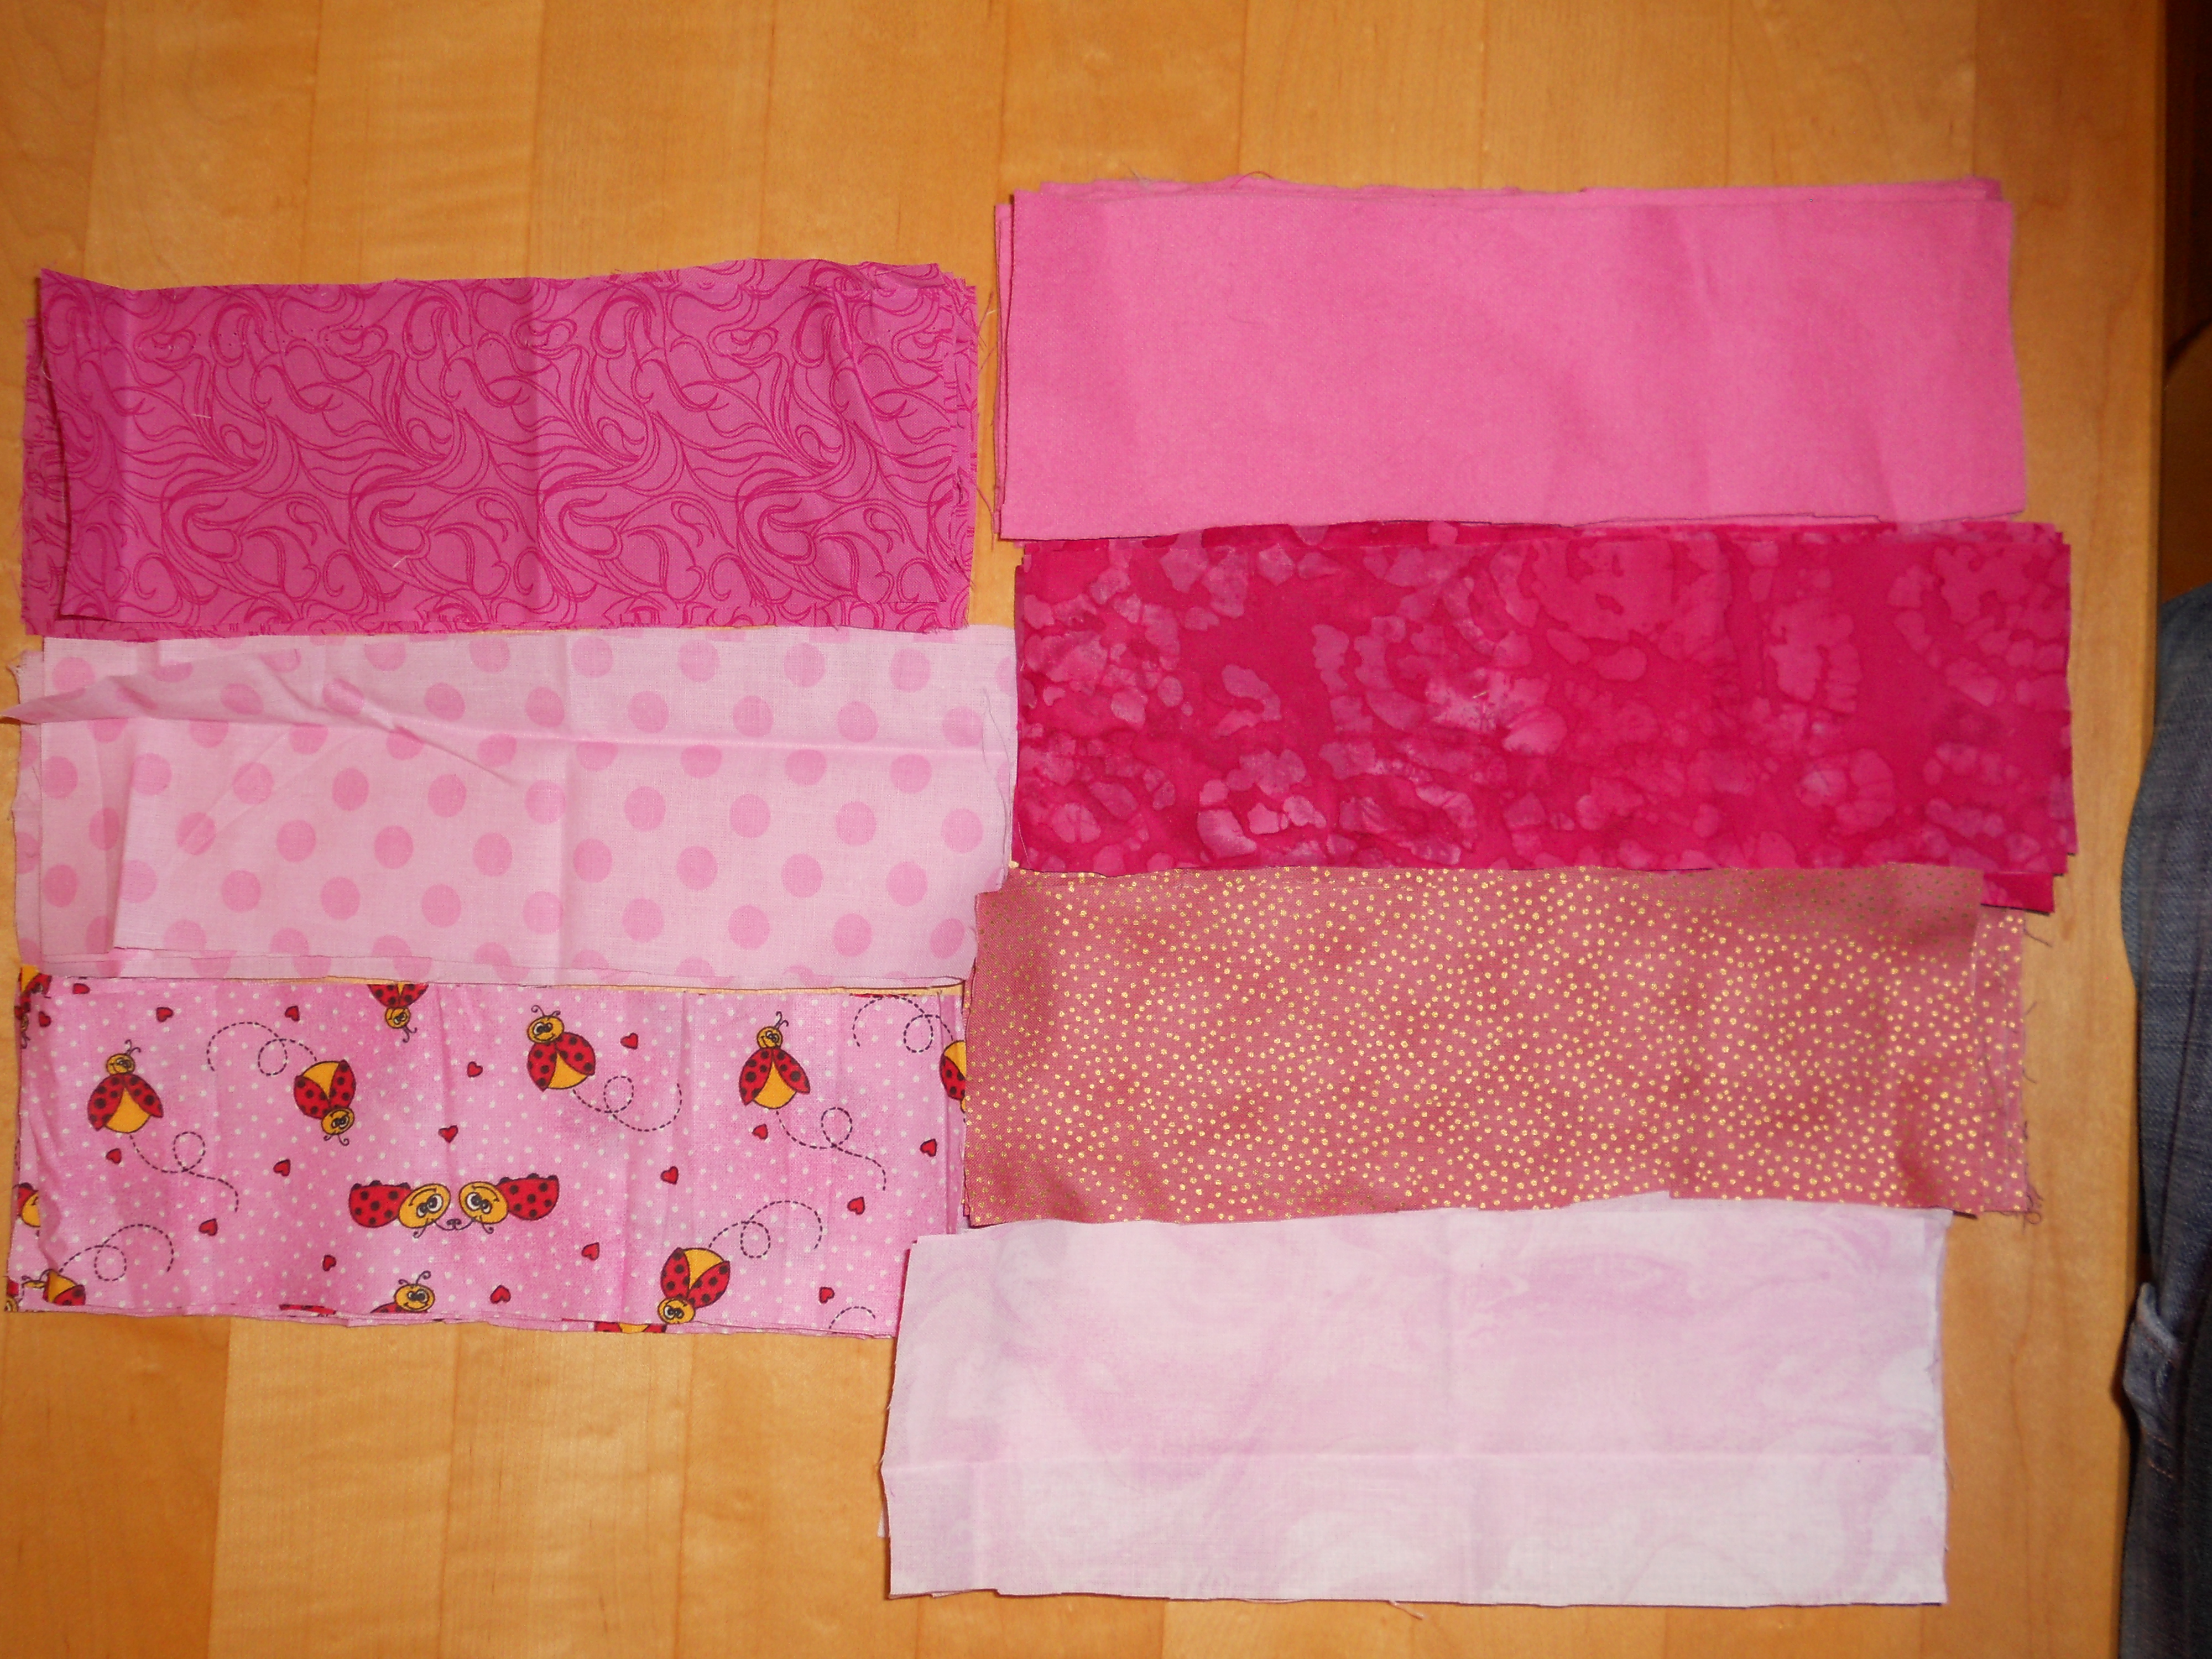

Picked several fabrics and cut 3 x 9 inch strips, then sewed three together and made two piles (for two quilts).
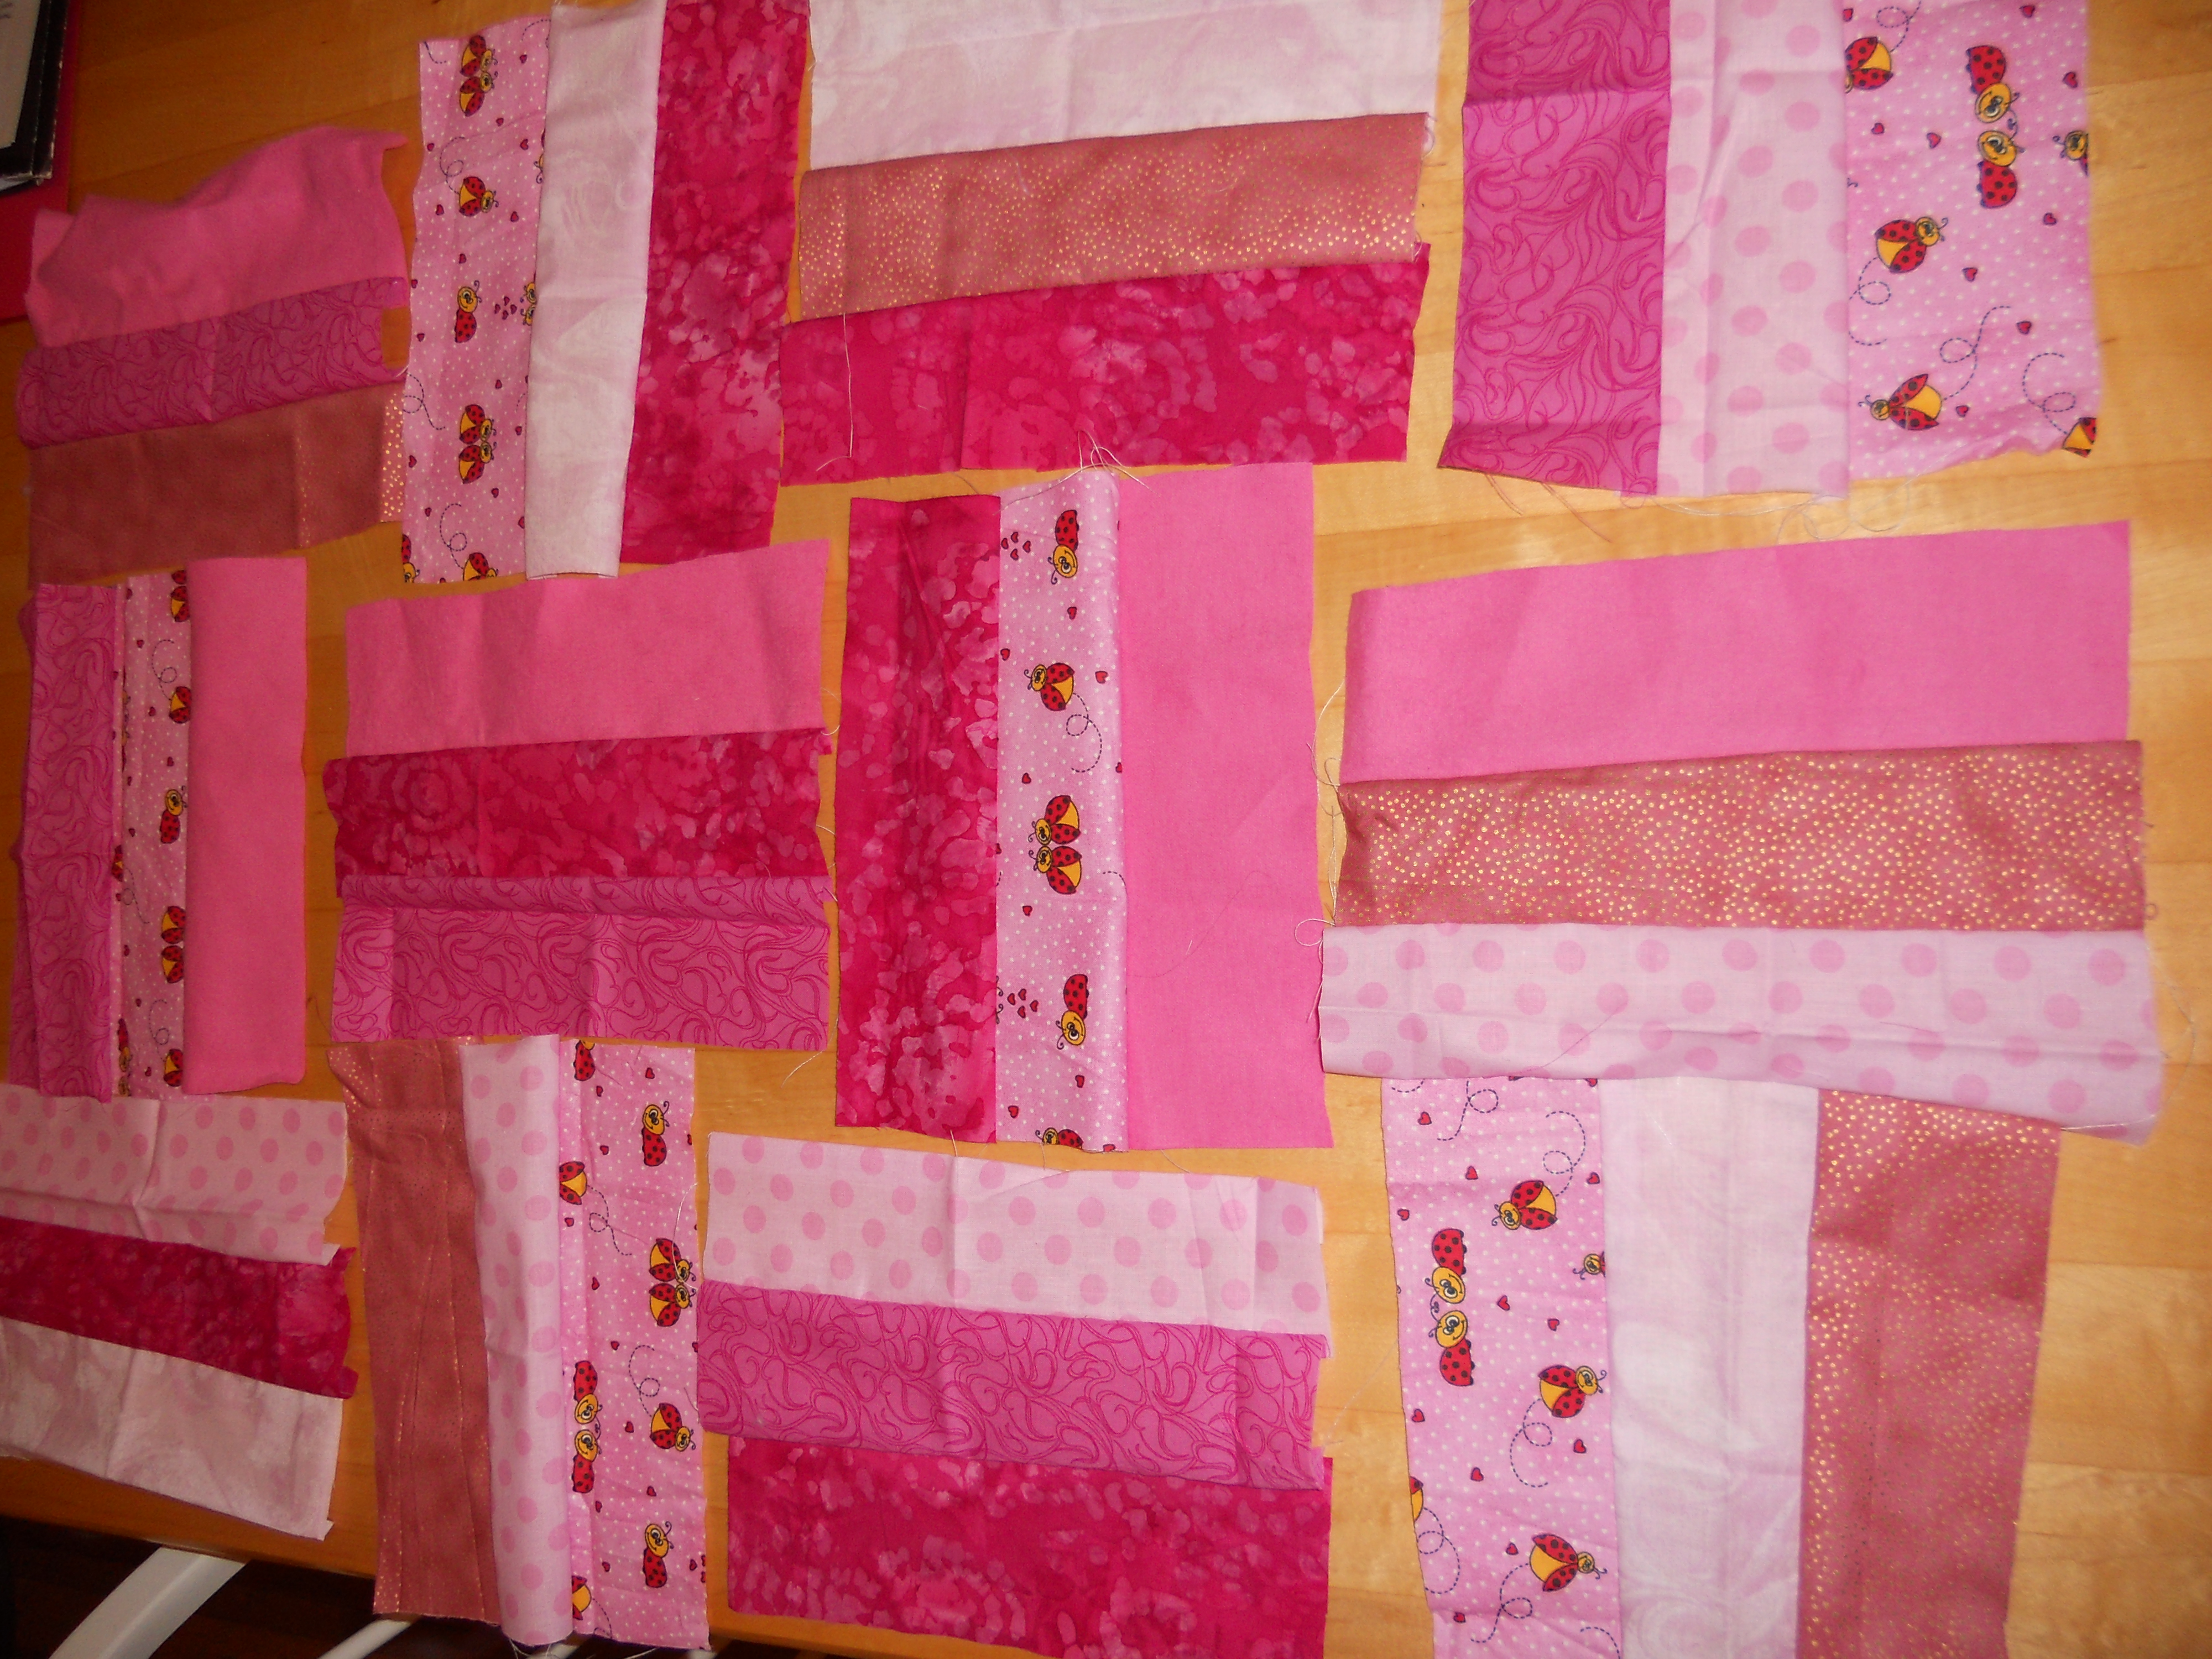

Laid out the “squares” in the order I wanted them and then sewed a strip of three at a time.
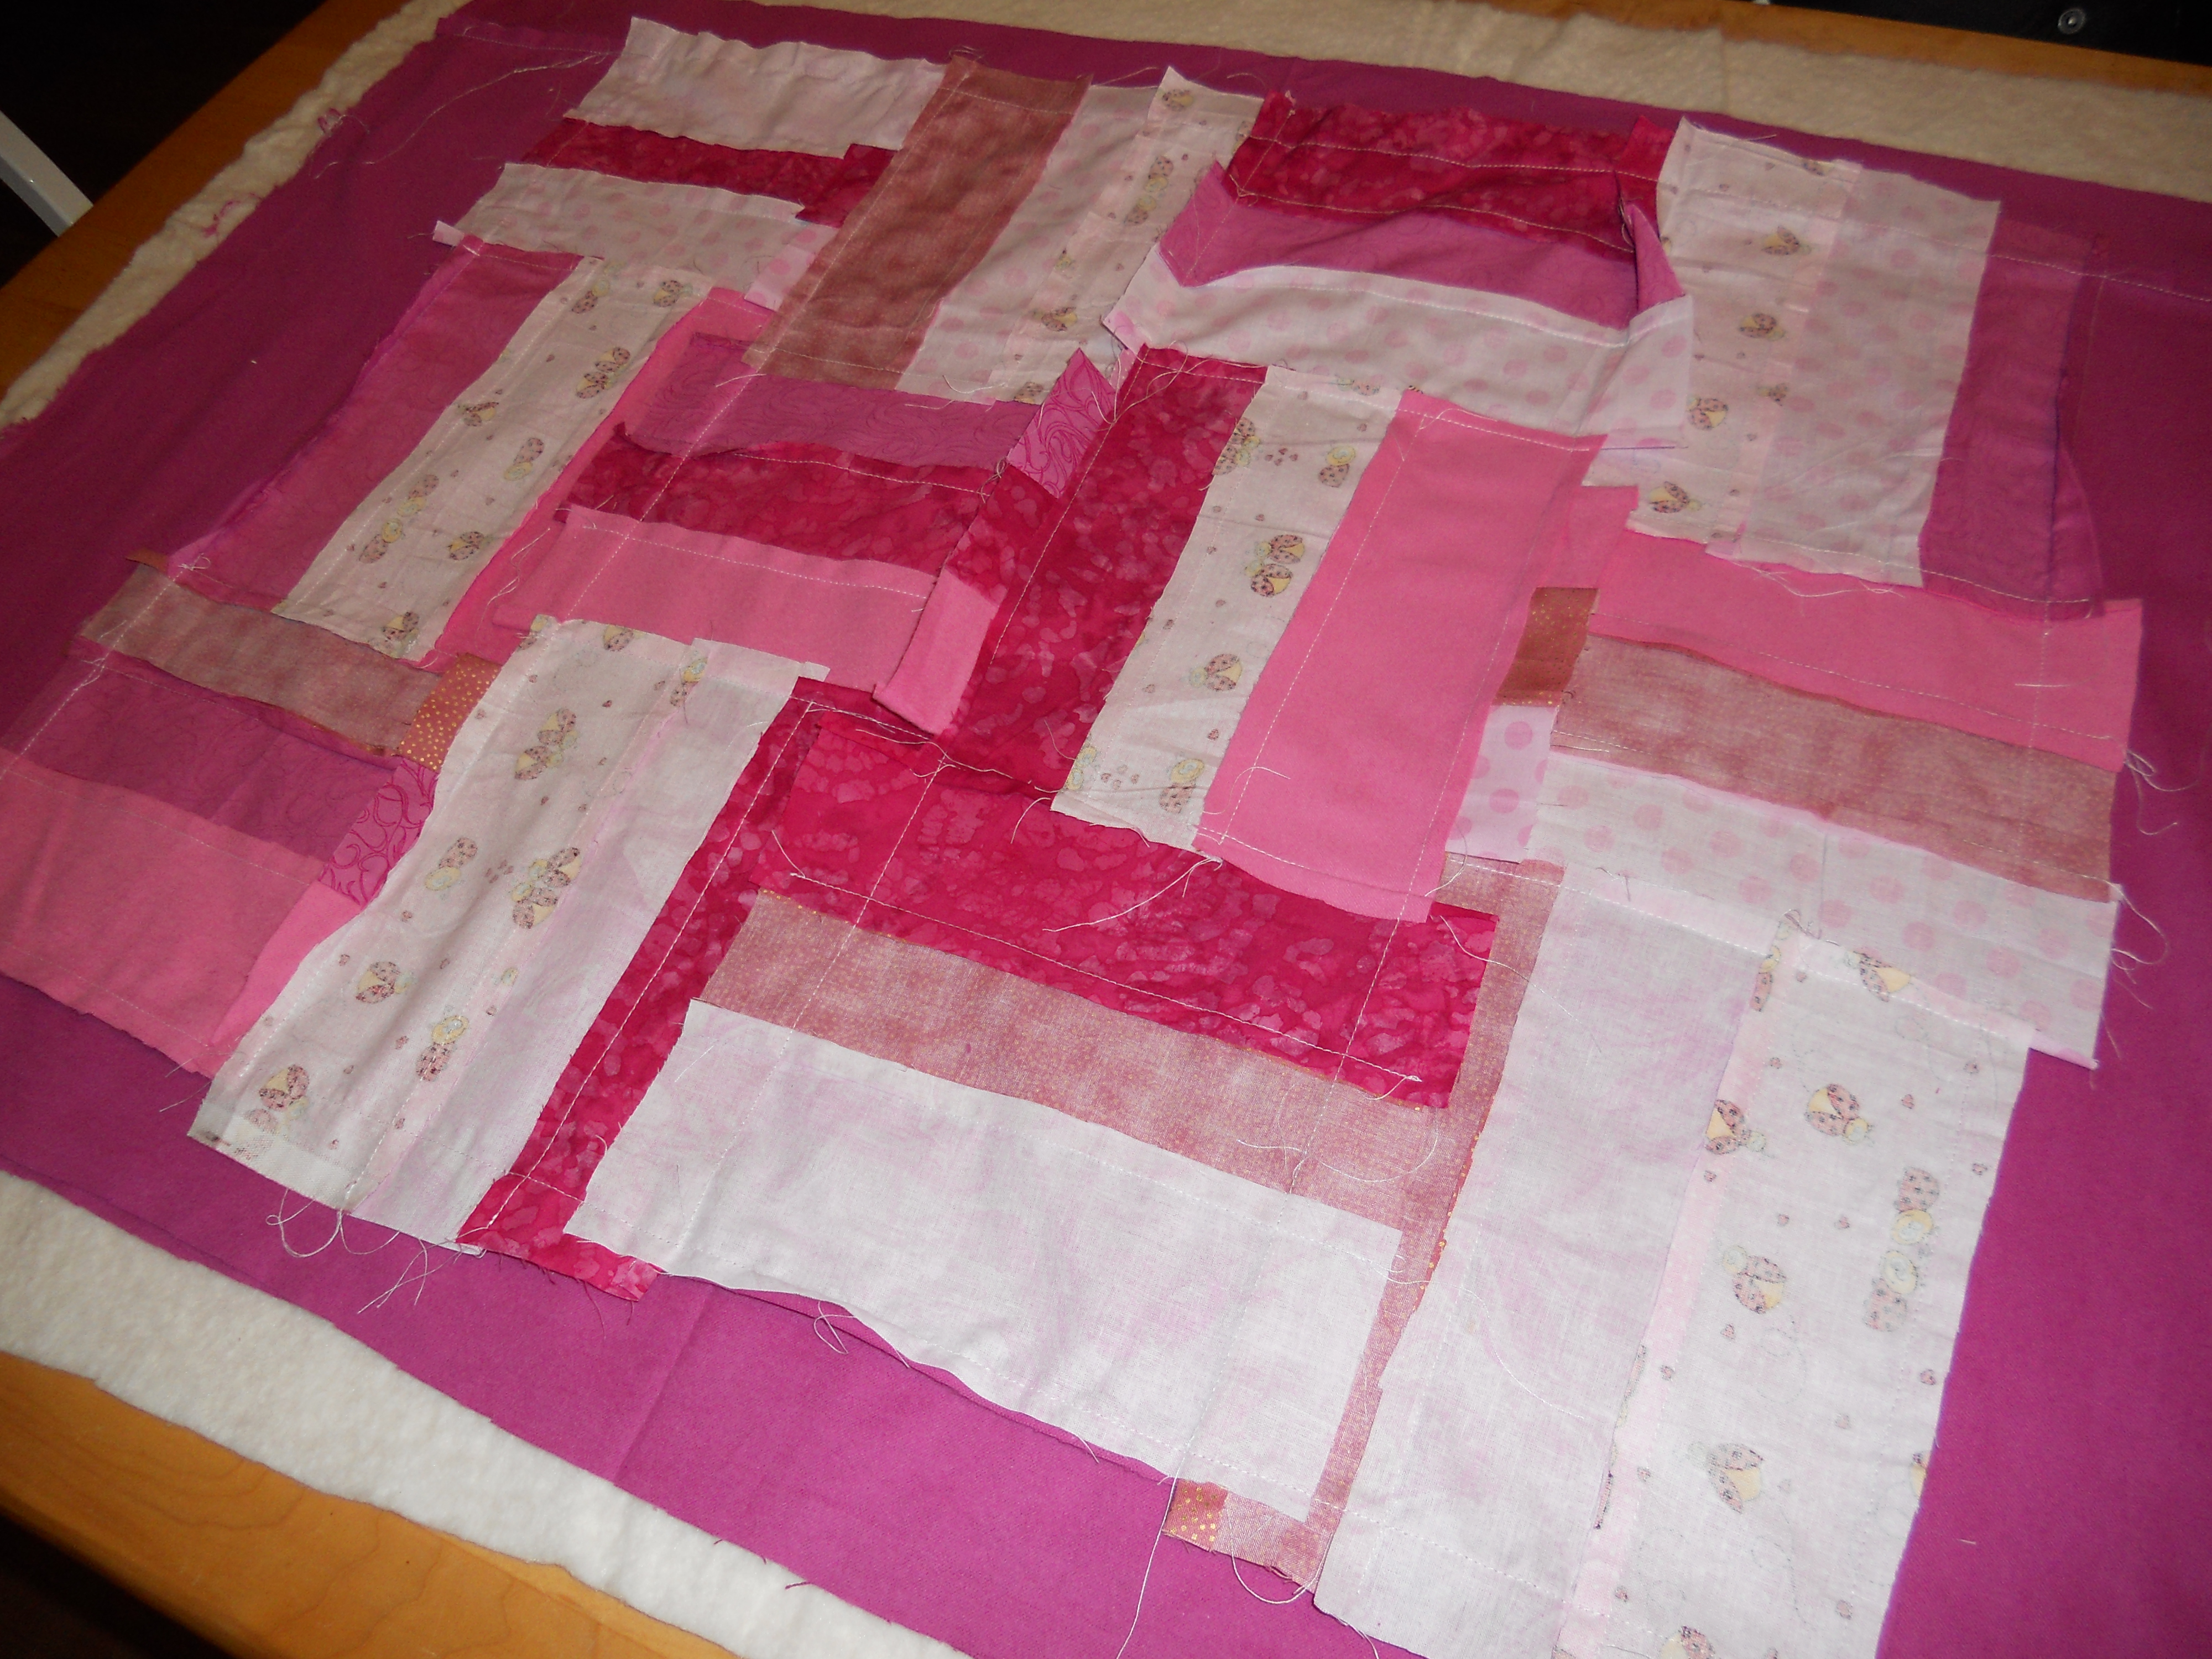
 End with this as the top. I then sewed a strip of border fabric along both sides, then along the top and the bottom.
 Then placed the batting, the backing, and the front (face down!) on top of each other and pinned everywhere (the more you pin, the less it moves with sewing).
Sewed along all 3 sides until the bottom, where I left a gap in the middle in order to turn the piece inside out…(after trimming the extra and doing an additional line of reinforcement).
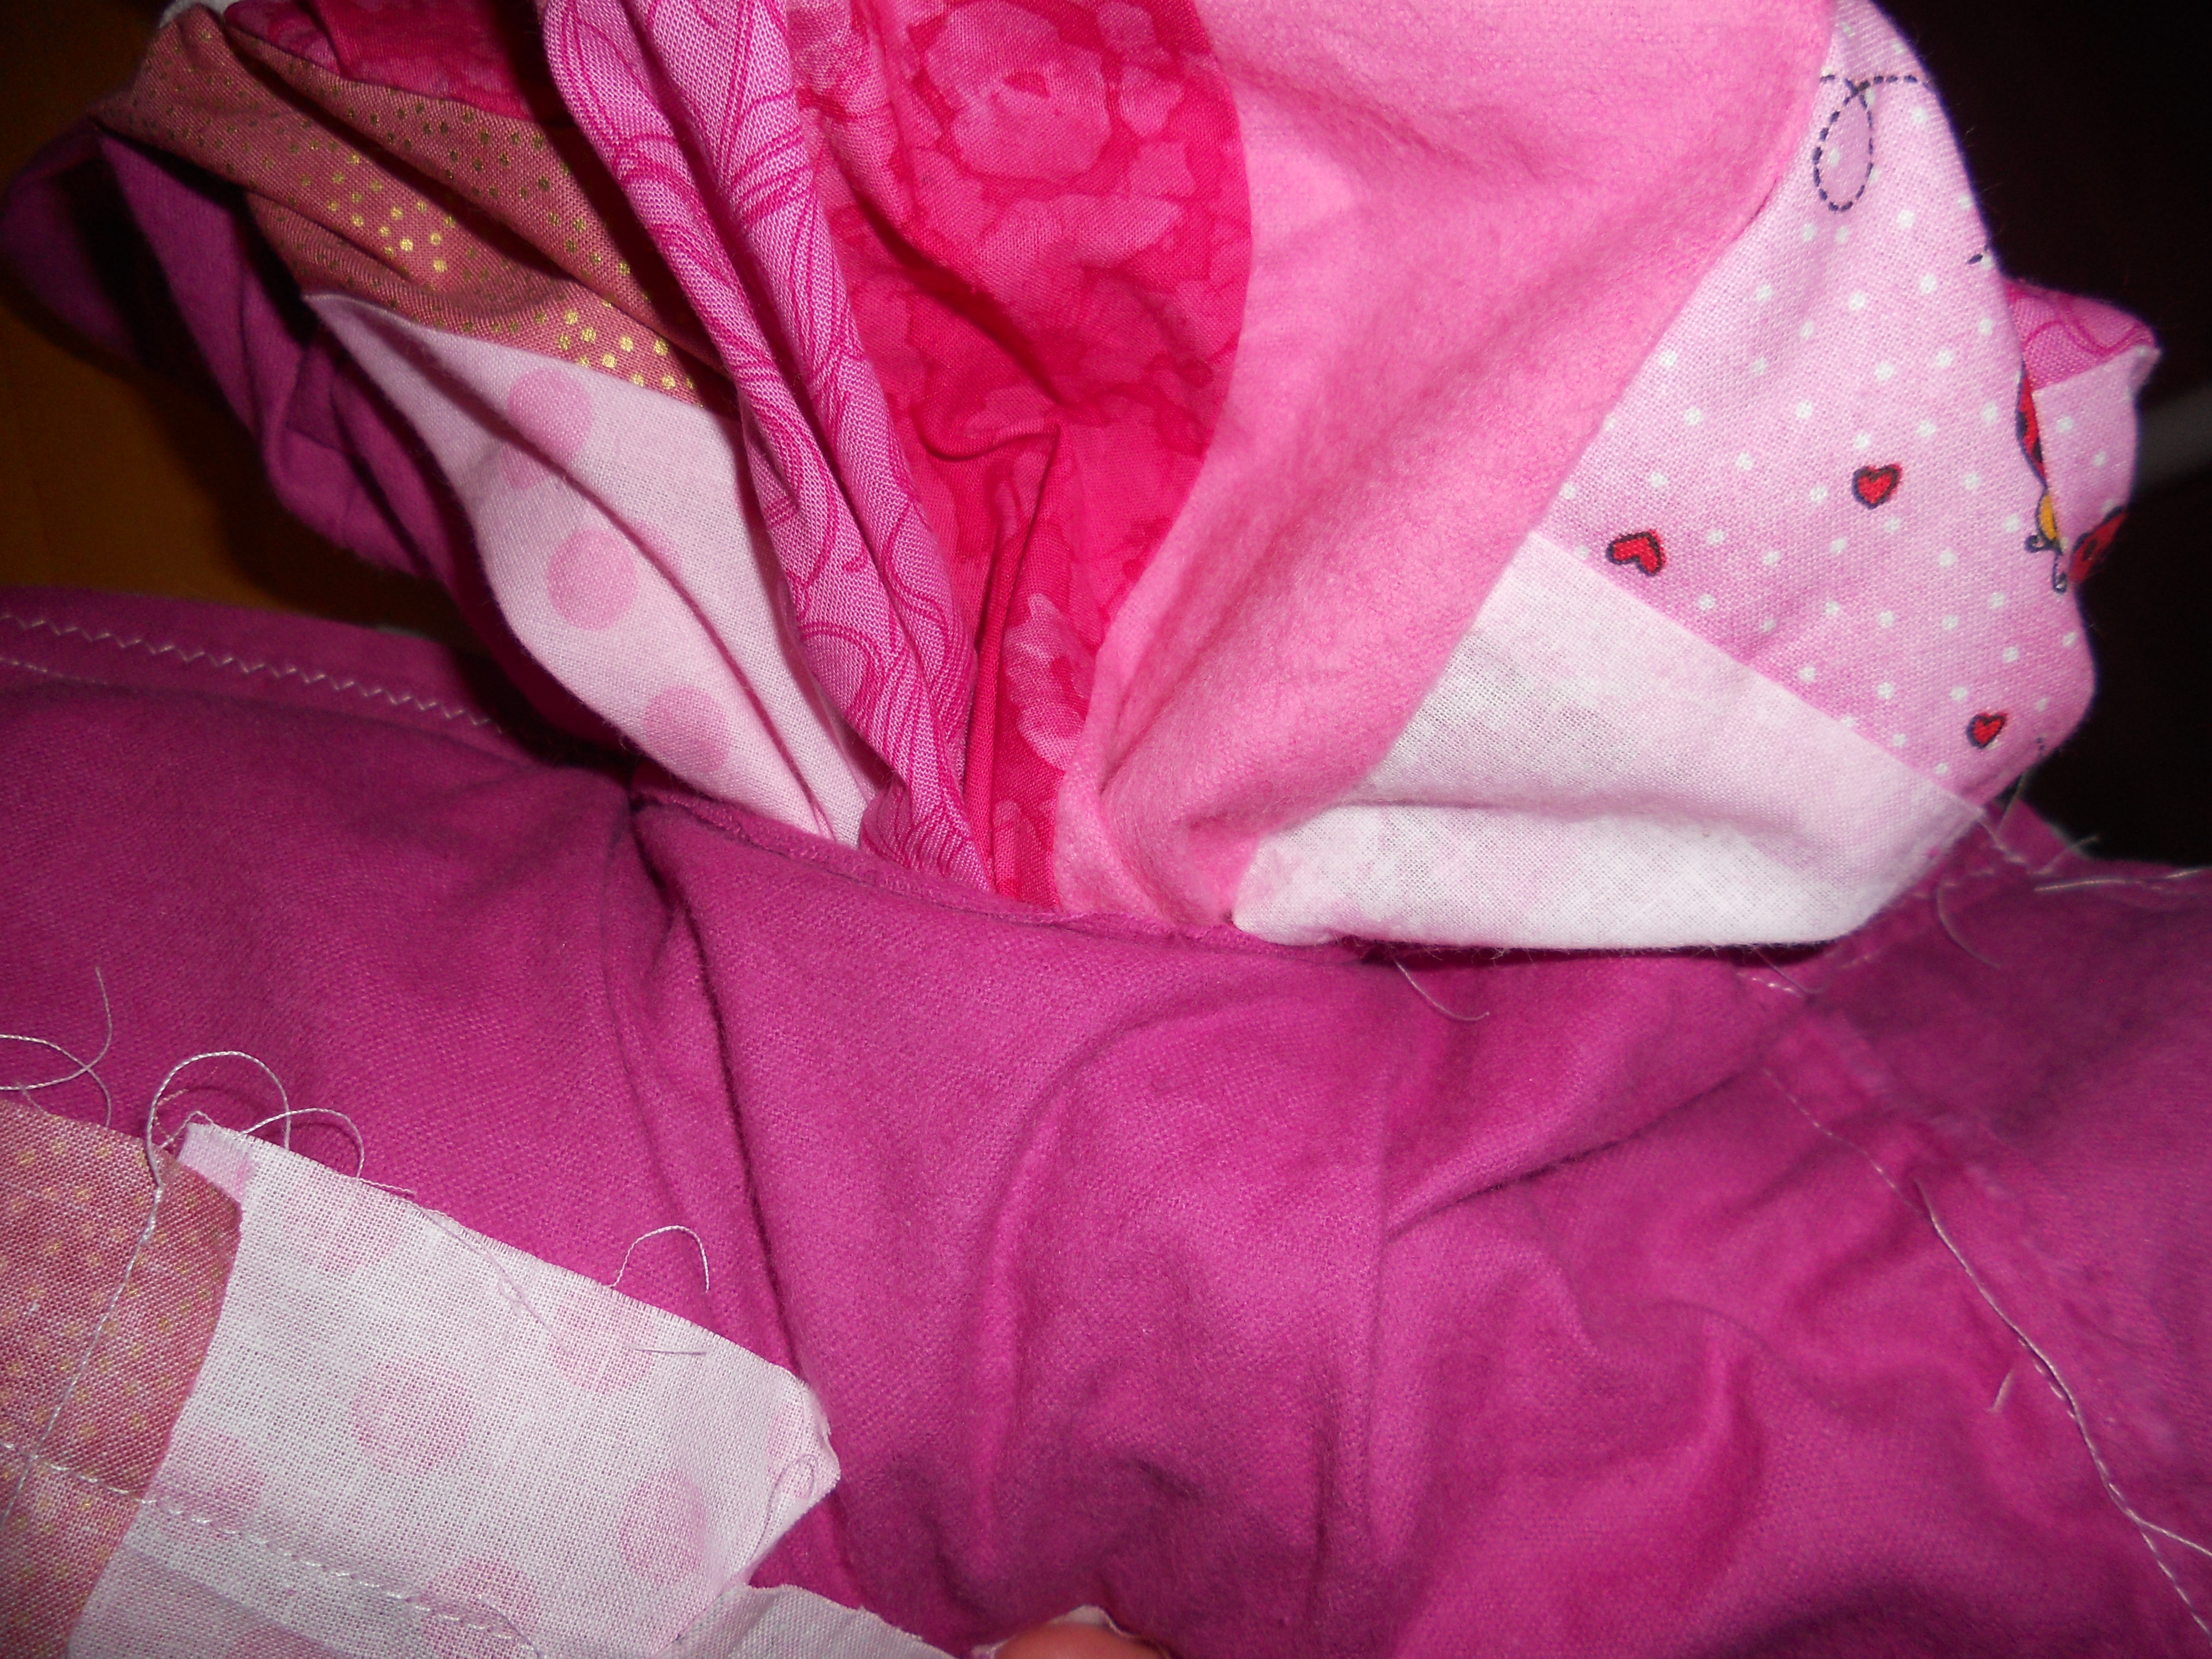 Time to turn inside out for a pretty quilt!
 The picture above is just before closing that open edge… (btw I did add some hidden ties in the quilt before closing that final edge to prevent shifting, but if you’re just starting, don’t worry about that).
And done.
 Now to iron!
