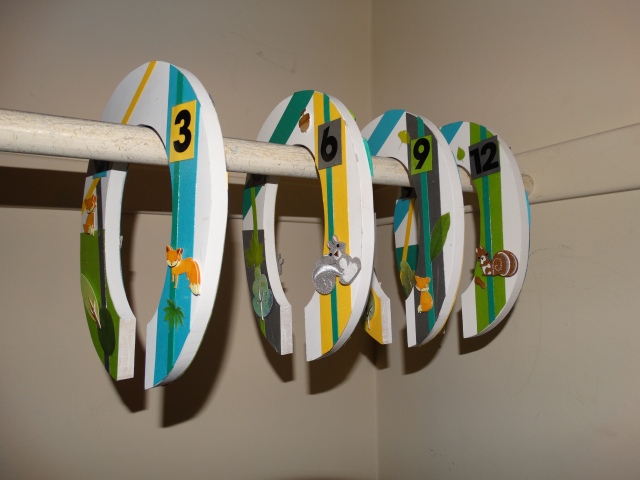
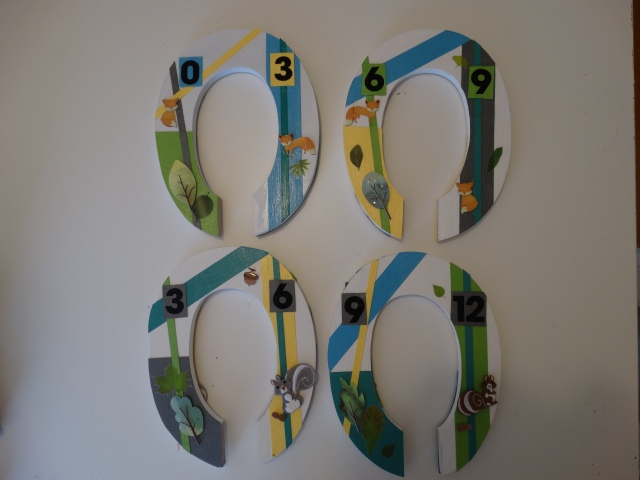
So I’ve been doing some homemade things for upcoming February (February 2nd! Eek! Really seems not that far away now). I had come across various closet dividers on Etsy and pinterest. I wanted to make my own vs buying them, but it was hard to find a standard hanger to decorate or use. So I went along the lines of http://www.twotwentyone.net/baby-closet-dividers/ using wooden Os I purchased at Michael’s craft store.

For these, I got wooden Os at Michael’s and had a lovely friend cut the bottom for me since they have real tools vs a hack saw that I have which would have taken awhile. Then I just painted the cut edges white to match the rest of the O. Rest of the materials needed:
- Decorative thicker scrapbook paper
- Scissors
- Mod Podge and foam brush to use
- Stickers (again, found them in the scrapbook section).
- Sticker numbers
We have a woodsy theme going for the baby room, so I stuck to foxes, squirrels and leaves for the decorative stickers on these. For colors, we’re having some pops of green. But you can definitely make these work for you and whatever theme you want to pursue (since again, there are infinite sticker and paper options!).
This was a great project in front of the tv while I was doing laundry.
I started doing a side at a time, and by the time I got through I could repeat on the other side since the Mod Podge dries quick. The scrapbook paper you want thicker so it isn’t wrinkling up on you as you put it on, but doing a later of Mod Podge under and over does the trick. If the stickers don’t have enough of a sticky backing, a little extra Mod Podge helps as well. I found it helpful to layout what I wanted with each one, making each side almost a mirror of each other.
Again, pretty easy to put together and you can definite make it whatever you need it to be for your own theme!


